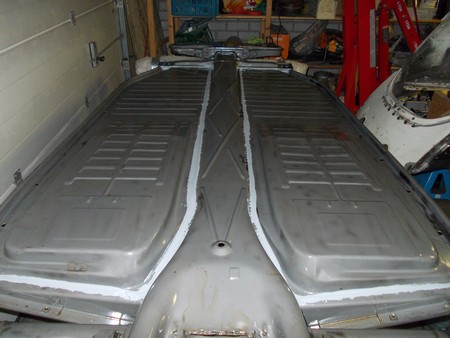
3.1 Floor Pans
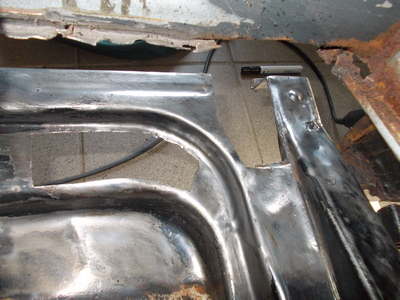
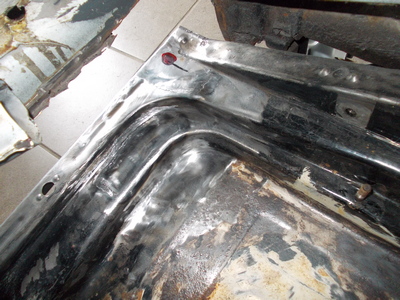
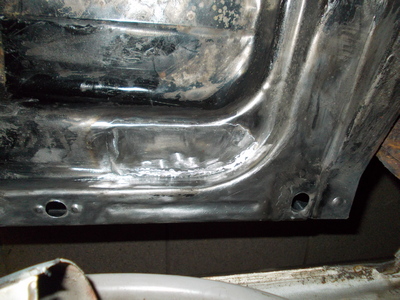
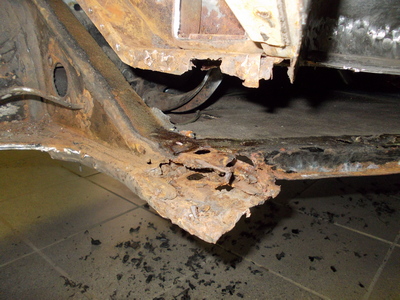
The floor pans were actually in a good shape, the usual rot near the jack support as to be expected, but that was all. Even the area underneath the battery was fine, corroded some, however no rot (it looks bad on the picture, in reality it isn’t). So I have decided to keep the original floor pans as these are by far the best quality, repair the two corners behind (jack support area), remove all tectyl and whatever was used, grid blast the whole lot and use RX5/RX10 from Caprotech to seal the metal and as a final protection.
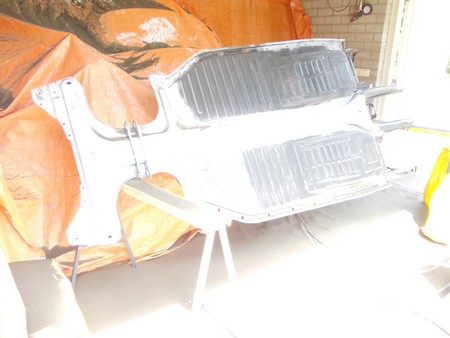
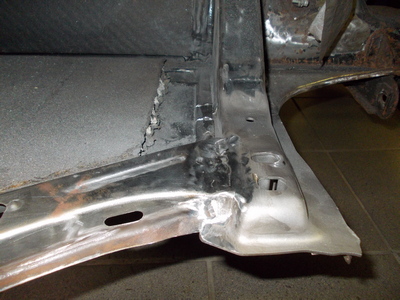
So both areas near the jack supports were repaired as shown in the pictures below.

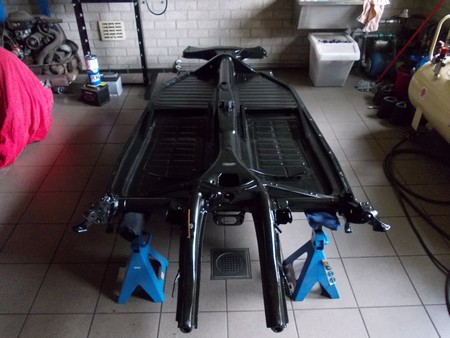
With this the chassis was ready to be fully stripped and grid blasted.
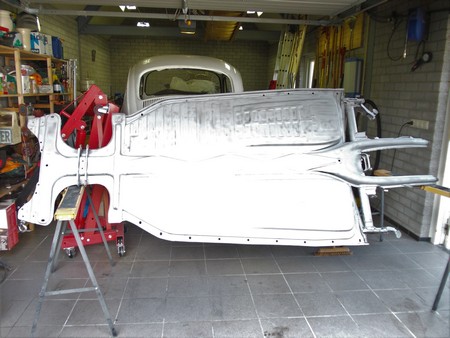
Next RX5, seam sealer and RX10 are applied.
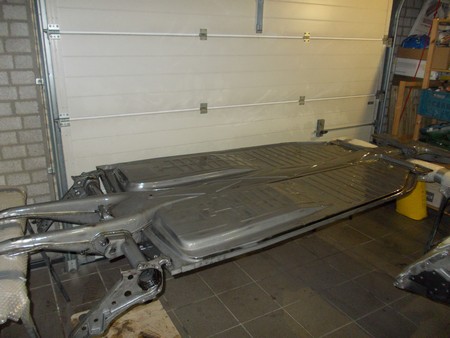
Finally ending up with a fully restored and refurbished bare chassis waiting to be reassembled.
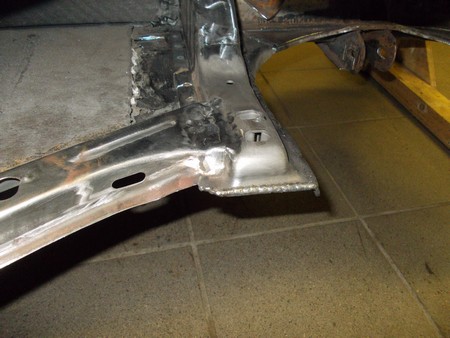
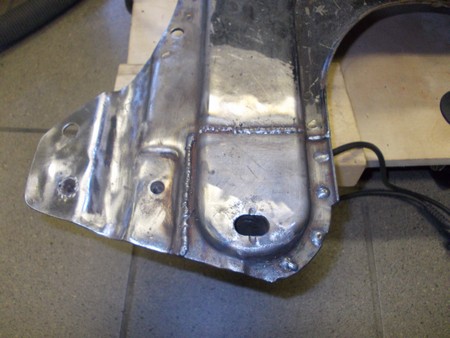
3.2 Chassis Head
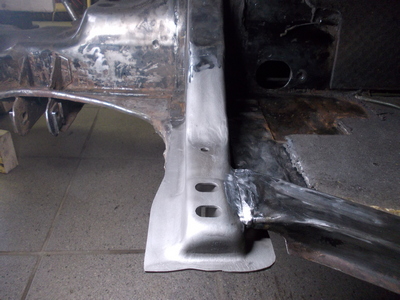
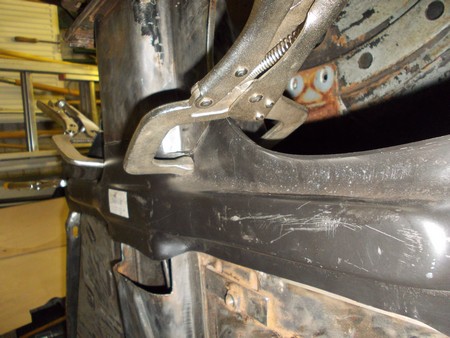
One of the rust / rot sensitive areas of a VW 1302 type beetle – the chassis head. First start was to rebuild the Napoleon hat outer parts. I tried to keep as much of the original Napoleon hat as only the ends were gone. And I mean really gone, the left side end was virtually missing and reconstructed with filler…
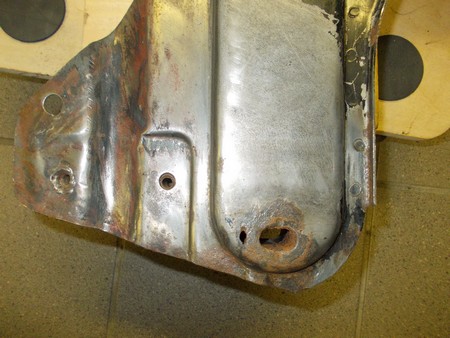
In one of the pictures below you can see that the bottom plate underneath the Napoleon hat needs to be replaced as well, that will be done later.

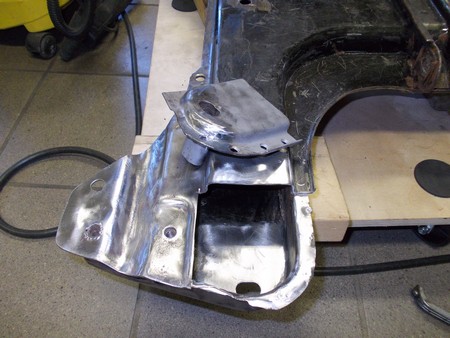
Also the bottom plate of the chassis head needed partial replacement (the lowest point underneath the Napoleon head which is a typical water pocket and notorious for rot, also in this case).
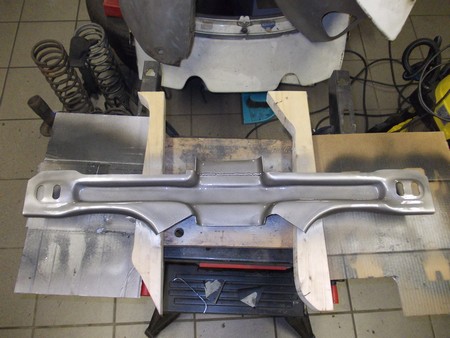
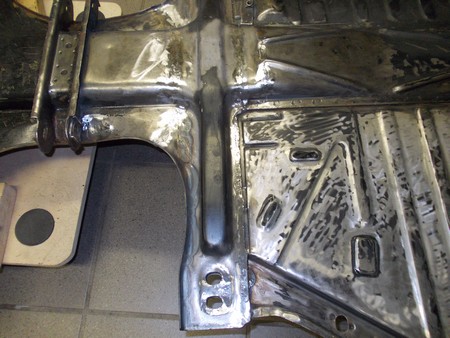
The front side of the bottom plate needed a small patch.

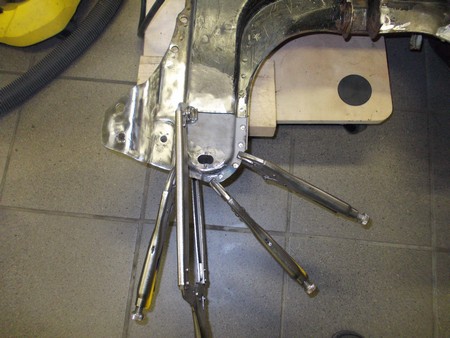

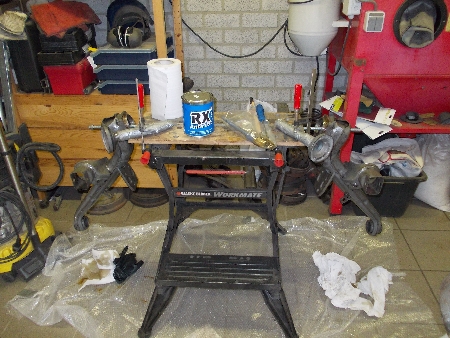
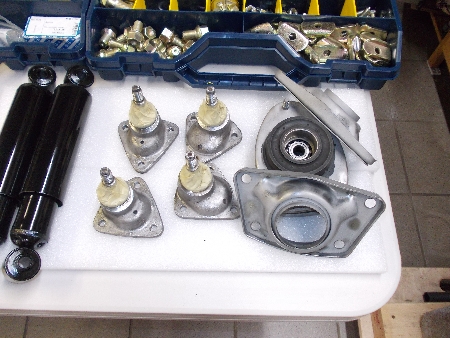
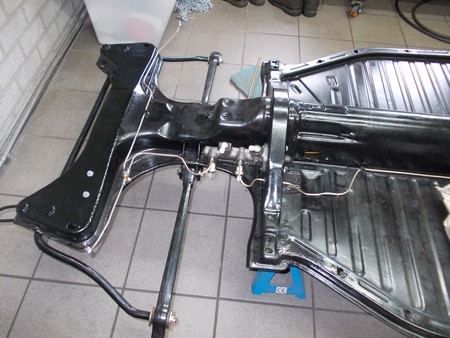
3.3 Front and Rear Suspension
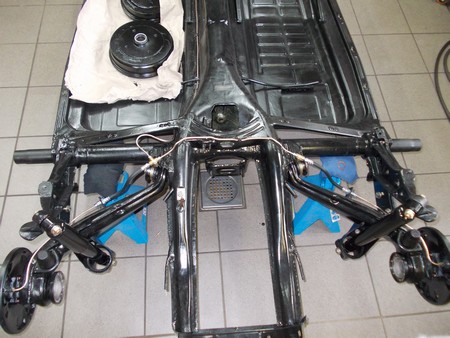
Lots of time was needed an spend to refurbish the suspension parts. All items were grid blasted, the larger parts coated using RX5/RX10, smaller parts 2K epoxy primed and 2K black finished. Special attention was paid to bolts, nuts and washers – the good ones all grid blasted, bad ones replaced and as a finishing touch all passivated yellow as was quite common in the 1970-is.
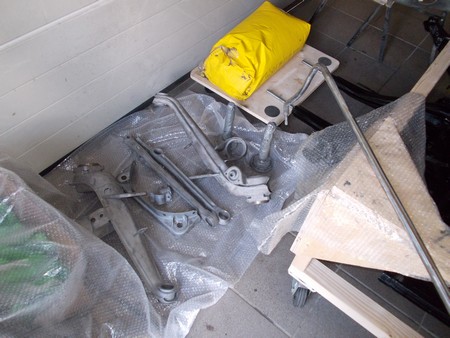
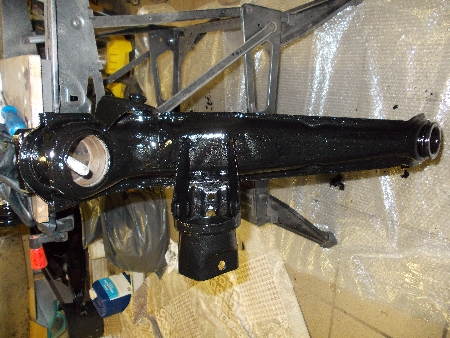
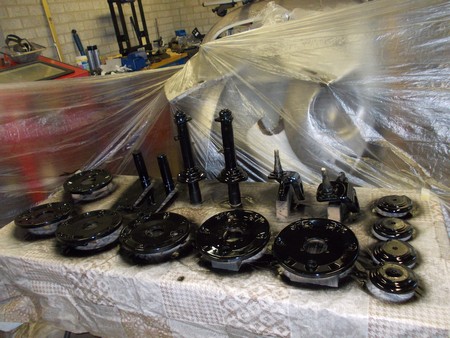
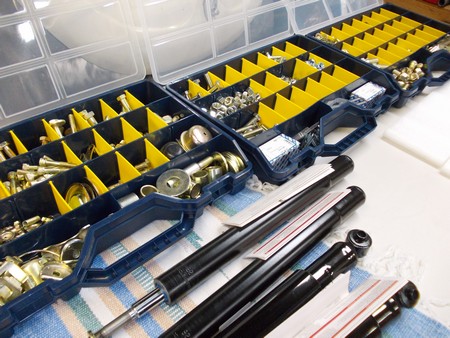
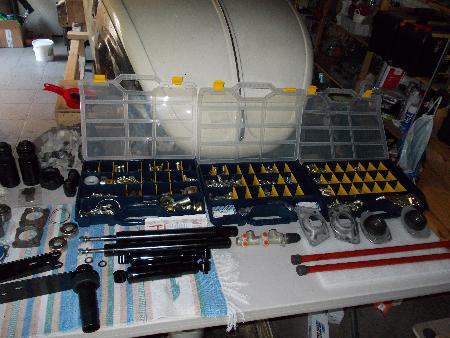
Everything ready – time to start rebuilding towards a rolling chassis again!
3.4 Pedals
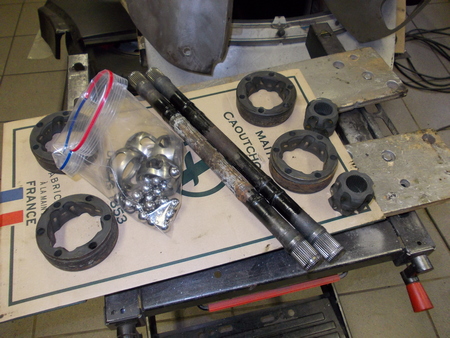
3.5 Gearbox and Rear Axles
This was one of the few subprojects that can be done in one weekend – refurbishment of the rear axles. The joints felt solid, no need to replace these, only the rubber boots needed replacement (partly torn, going bad). All was given a good clean and the axle shafts were grid blasted for a good painting (black chassis paint). Put everything together again and apply loads of grease – use the right one, I used molybdenum disulphide grease which is recommended for joints. I covered things up with rubber gloves at the ends as I have to store these axles for a while.


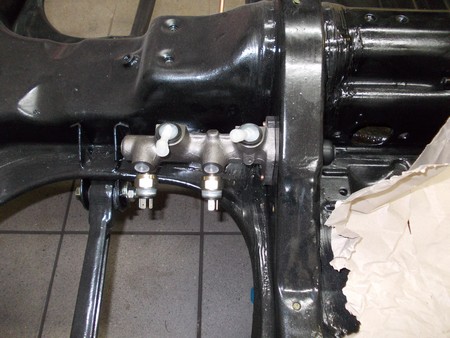
3.6 The Brakes
The car has been parked for years by now, dismantled so all braking fluid out, braking cylinders corroded and the brake lines have had their best years as well. For that reason I have decided to make a clean start and rebuild the entire braking system – new lines and new cylinders, starting with the master brake cylinder. No B-grade components, all break cylinders from ATE.
Than I moved on to bending, cutting and flaring the new brake lines, first time ever and quite an experience (some parts I had to redo three times as the result had to be exactly as I wanted it to be). I am pretty happy with the end result.
The rear wheel drum brakes were rebuilt first – the brake pads were still good enough to be reused (I guess these have been replaced not too long before I dismantled the car) as well as de drums itself, hence I have re-used these.

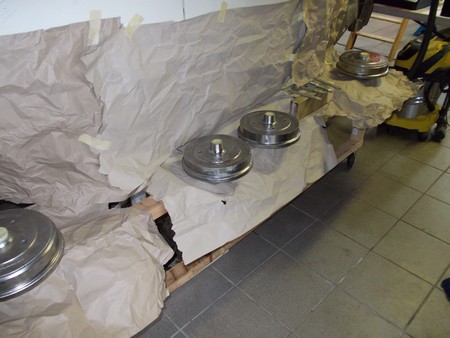
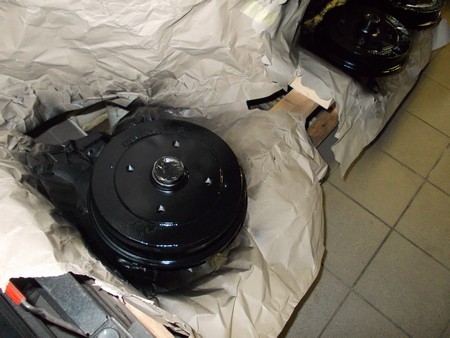
The four drums (yes, no front disc brakes!) were all in pretty good shape, hardly any wear, only some surface rust, so a good gridblast and clean followed by a fresh paint coat will do the job for now.