As said, for this restoration we planned to use as much of the original parts as possible as this would give the best results. With great help of my son we spend hours on removing layers of tectyl and body cover, this to really get to the bare skin of the car. Then all parts were grid blasted (again, great help of my son, he is a great grid blaster) and sprayed with welding primer. This to have a first protective layer and rust protection where there are sheet on sheet connections (spot welding areas). Later on most of this will be removed by the final grid blasting prior applying 2K epoxy primer.
2.1 Rear Cross Members
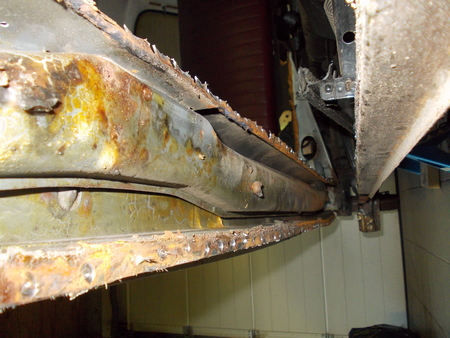
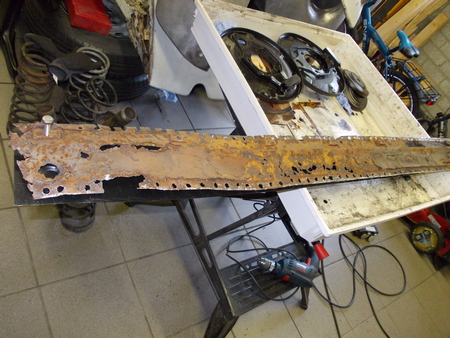
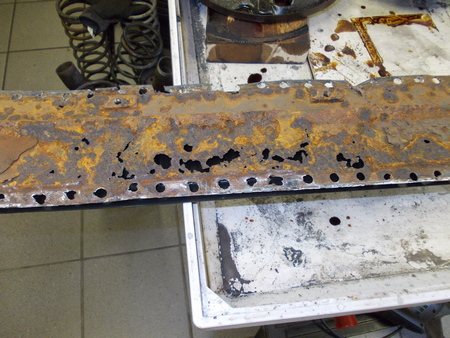
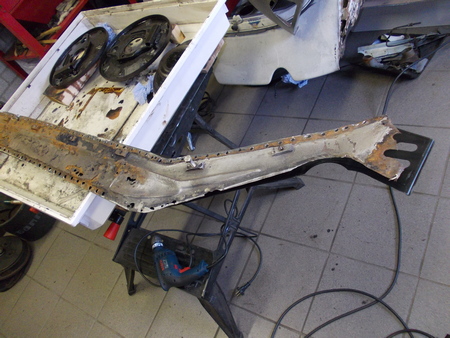
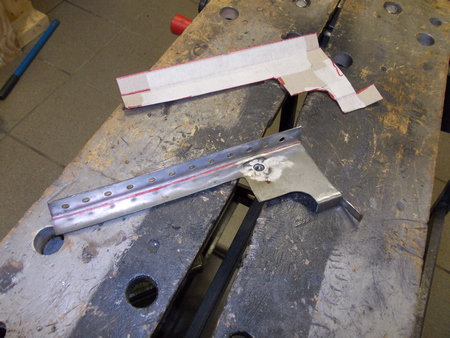
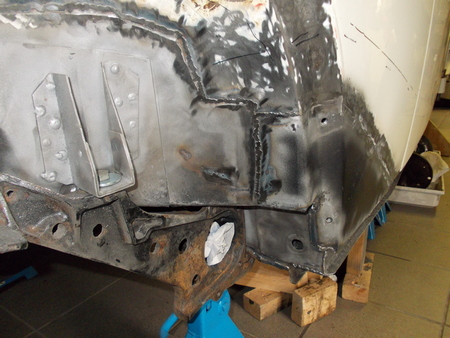
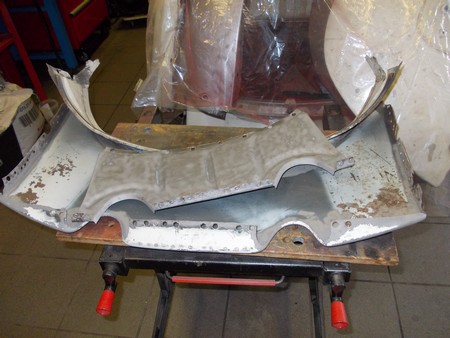
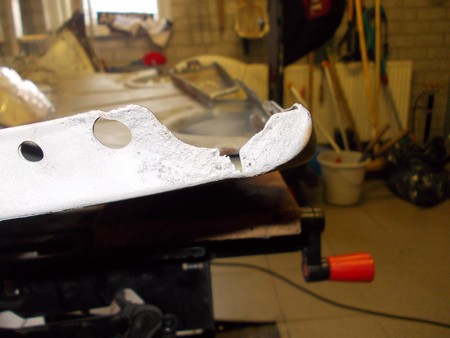
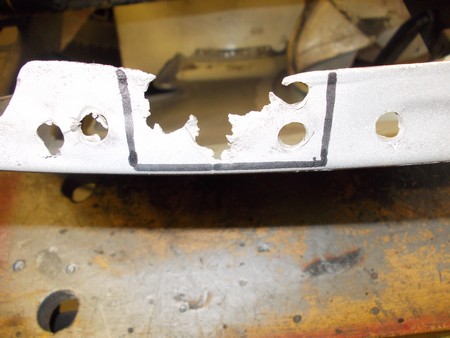
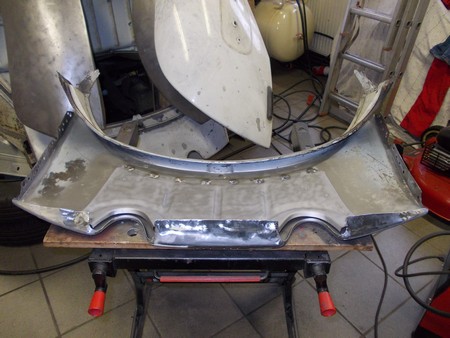
Both rear cross members showed some serious metal rot at the connecting areas with both heater channels. After removing the cross members by drilling out the spot welds it was time to test fit the imitation ones – it didn’t fit very well and later I found out that rust was already present between the various sheets of metal – not great. This made me decide to re-use as much as possible from the originals and refurbish these. The pictures below will speak for themselves.

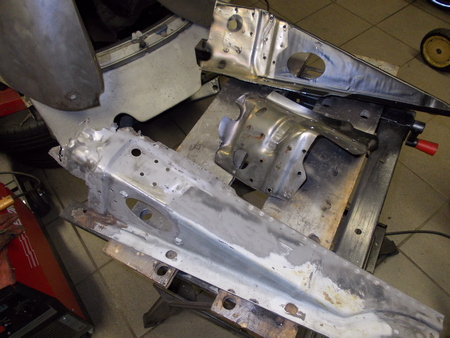
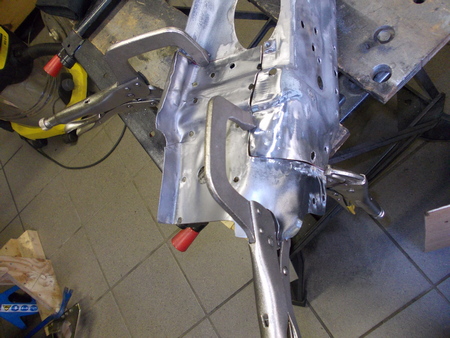
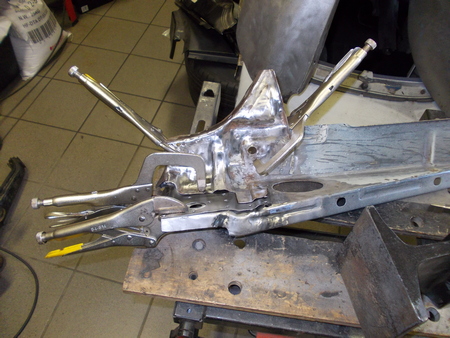
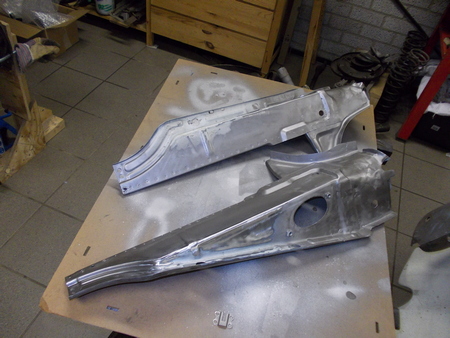
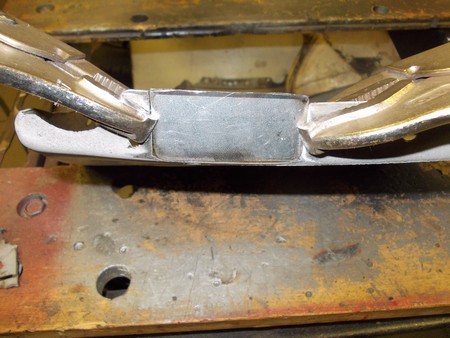
With two refurbished crossmembers ready it was time to reconstruct the car. Refurbishing and re-using parts has the advantage that the spot weld marks still line up so it is an exact reconstruction as it was done back in the factory.
Add picture of final crossmembers
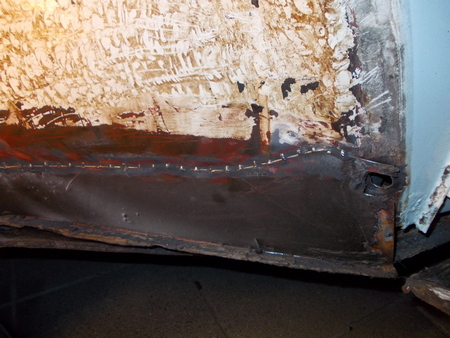
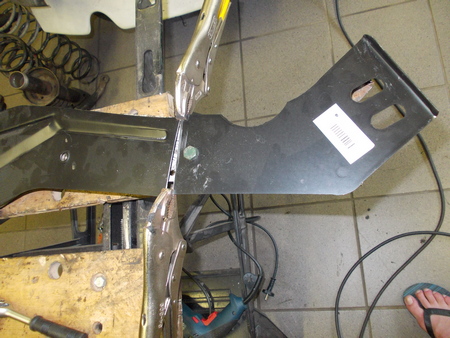
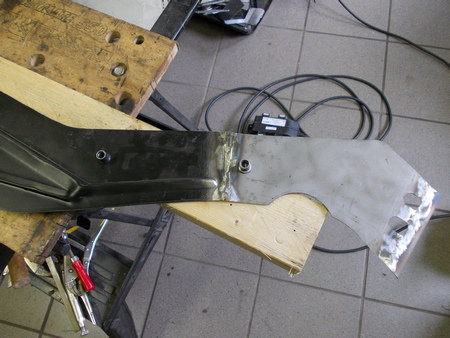
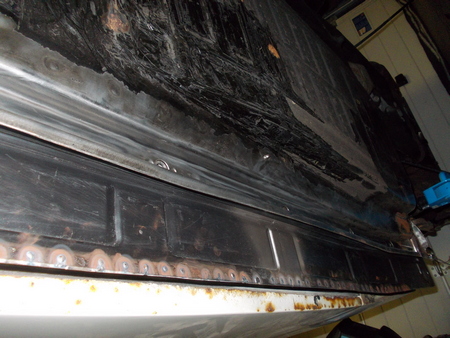
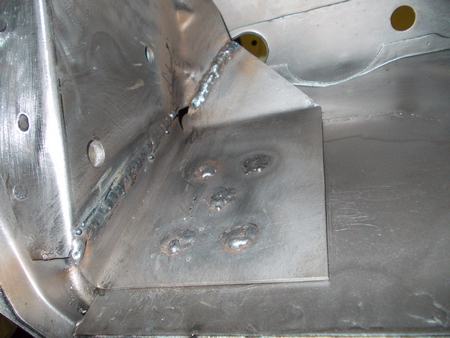
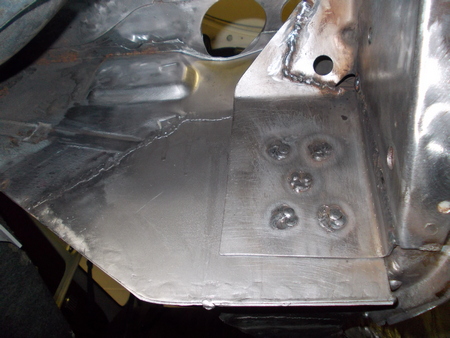
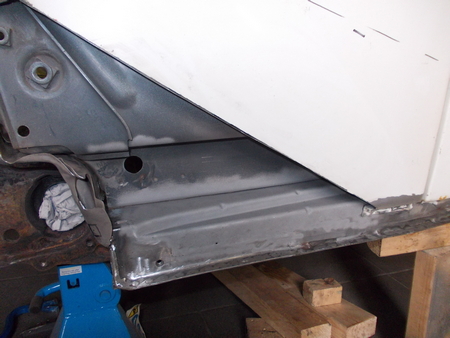
2.2 Heater Channels
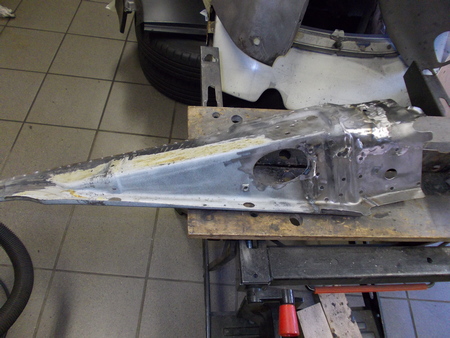
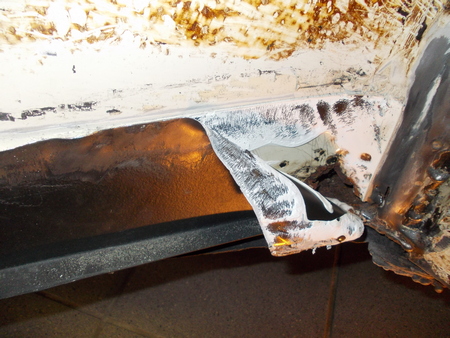
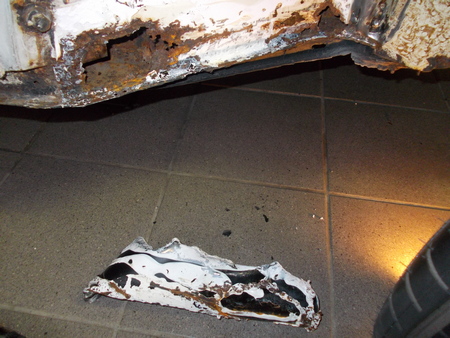
The heater channels where both gone in the frontside – later I would find out why – the front windows have been smashed at some point in time and glass was still scraping the inner tube of the heater channels. Interesting patch repair from the past – bathroom sealer…
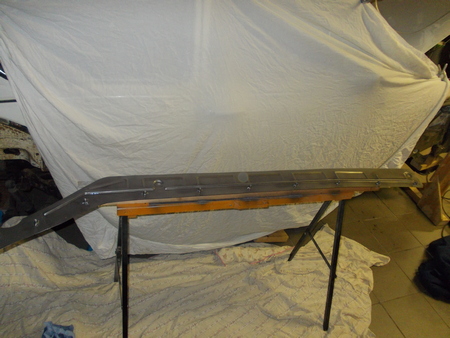
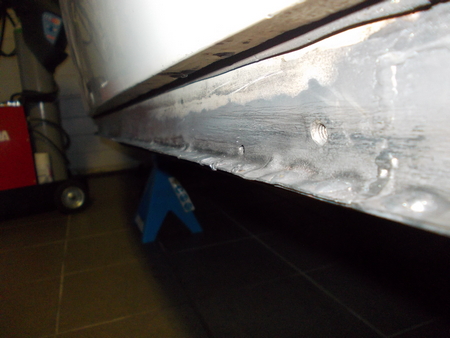
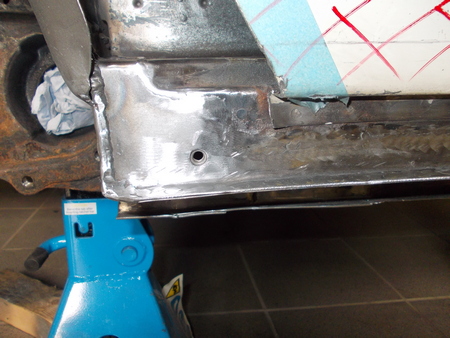
As one can see in the series of pictures below, aim was to cut away as little metal as needed and reconstruct missing metal. All areas were grid blasted in order to deeply clean for rust and protected with weld primer.
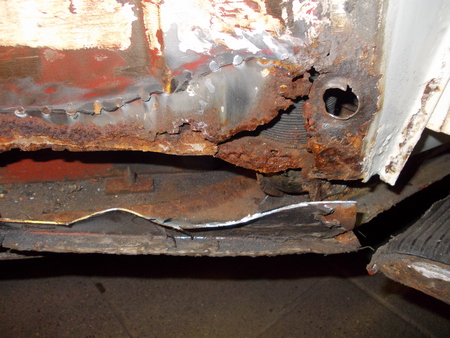
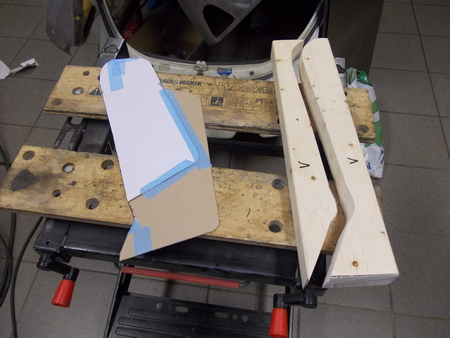
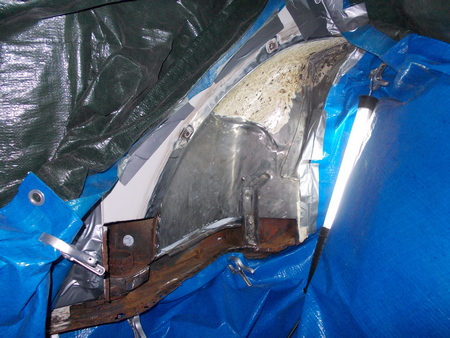
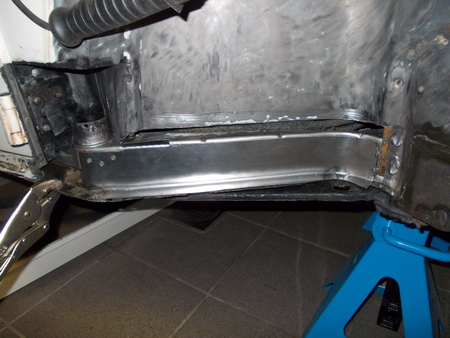
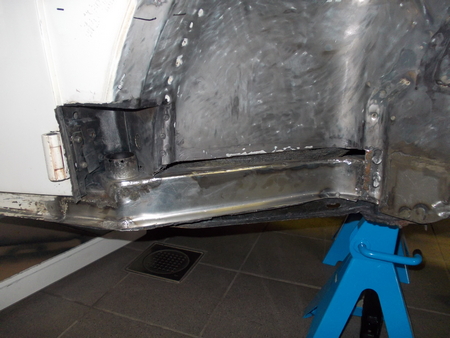
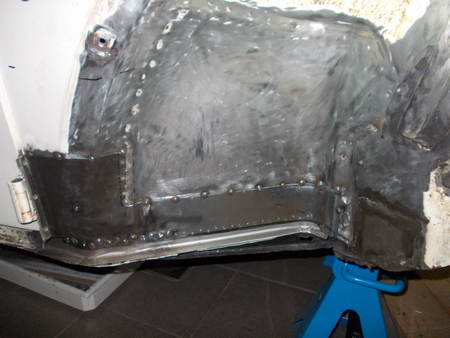
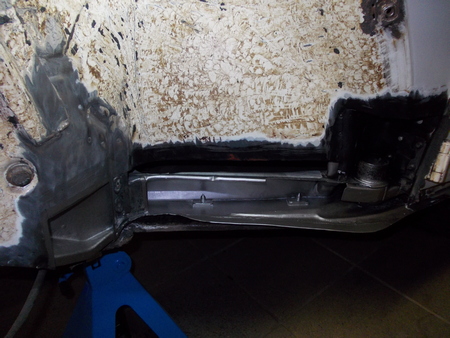
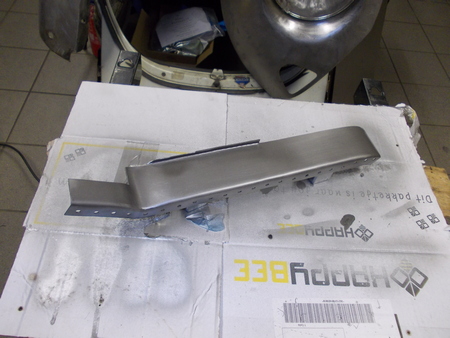
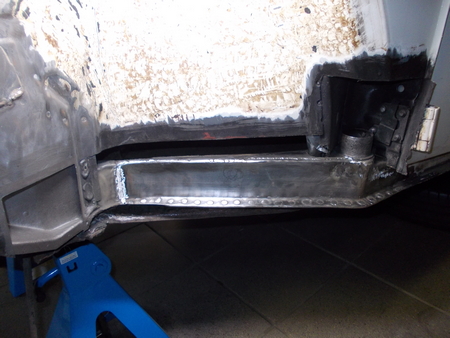
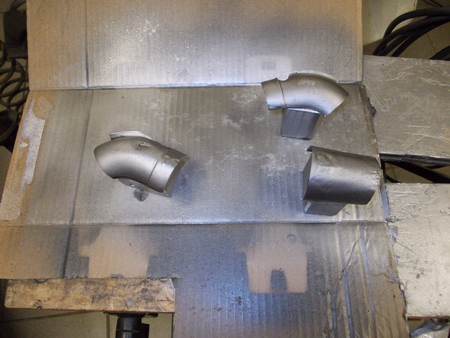
The right floor pan of the heater channel was gone as well and had to be replaced. The replica version had to be adjusted to fit the original mounting wholes of the floor pan. While having the channel open, it was a good moment to replace the 90 degrees angle part of the heat pipe – a donor part was used. The jack support brackets where rotten and had damaged both heater channels – these areas where brushed up as well.


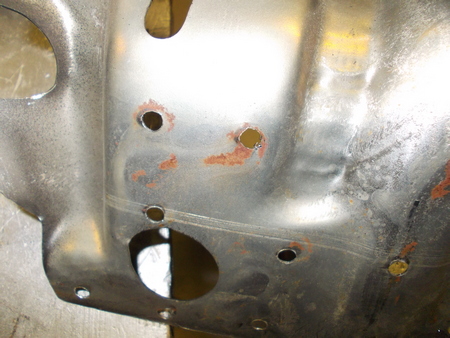
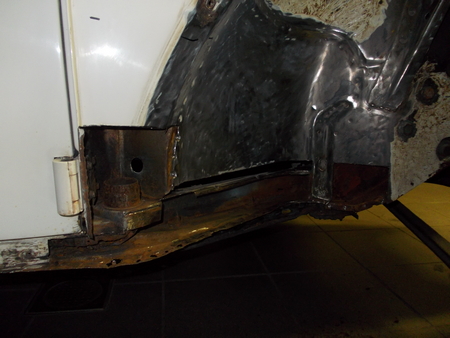
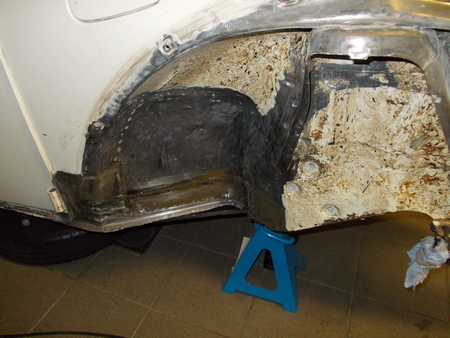
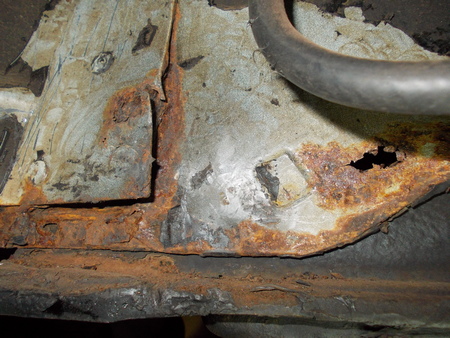
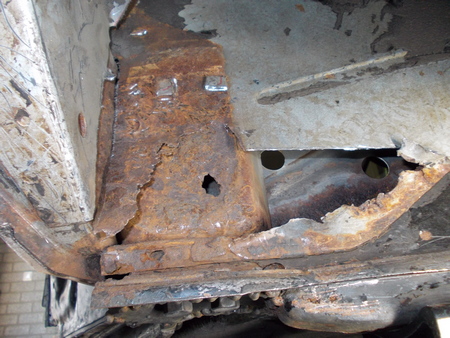
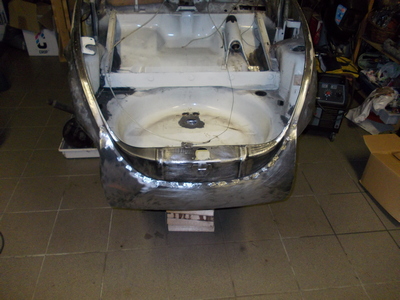
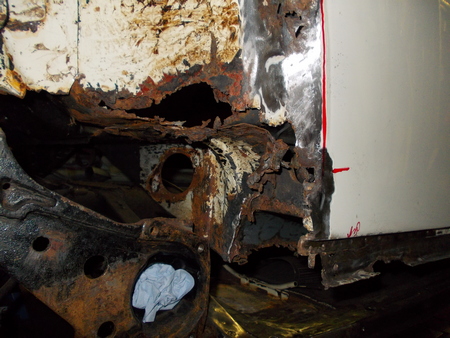
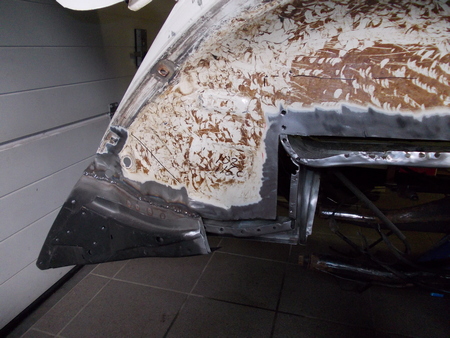
2.3 Fire wall
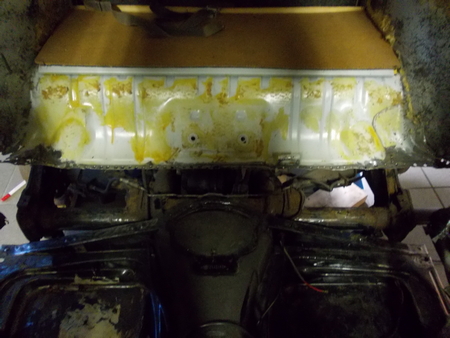
The front firewall was heavily impacted by continuous water draining from the front of the heater channels via the bolts into the Napoleon hat. Later I found out that both side front windows have been broken (burglary?) and that remains of the shattered glass went into the ventilation system. Consequence – the combination of scraping glass in the steel ventilation channels and condensation cause rust turning into metal rot. In the chassis section I will show what it did to the outer parts of the Napoleon hat – totally gone.
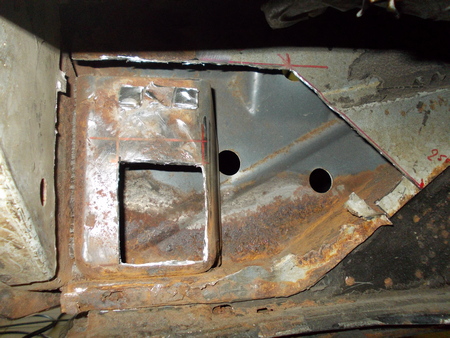
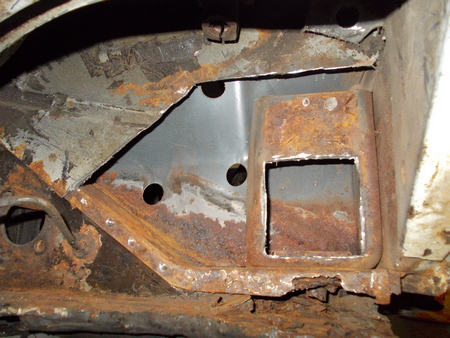
As the damage was severe, though very localized I decided not to replace the firewall with a new imitation one as I know the fitting is poor (in particular the top to the body), though to refurbish the existing one. Below series of pictures show the surgically dismantling of the impacted areas, grid blasting, protecting with welding primer, creating the missing pieces from bare metal and rebuilding the whole lot again. Later in time all of this will be grid blasted prior putting the 2K epoxy primer / pastel white color as a final sealing coating.
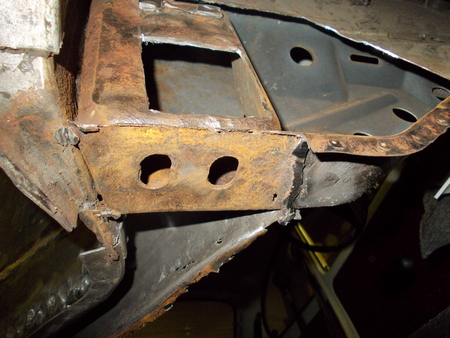

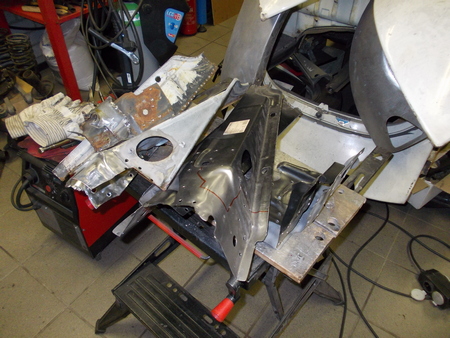
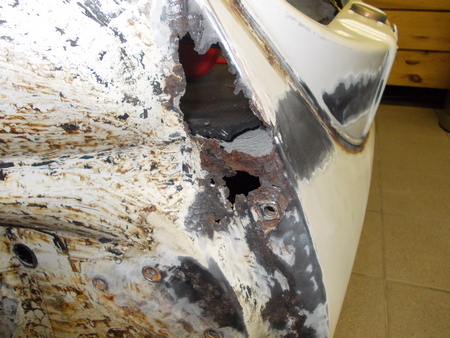
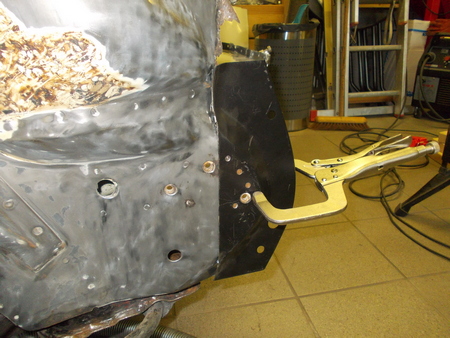
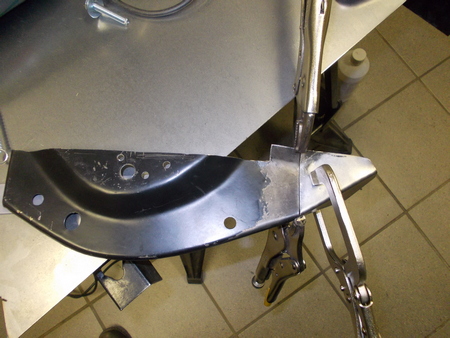
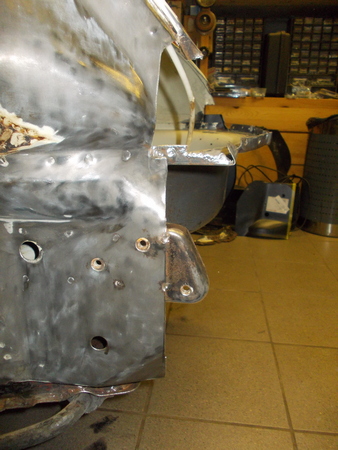
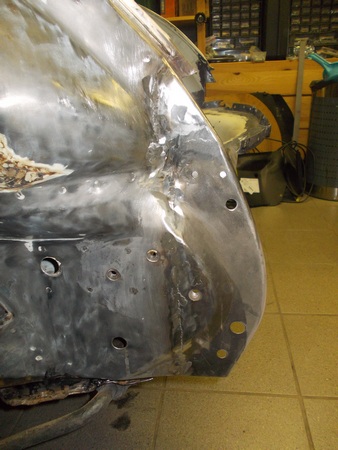
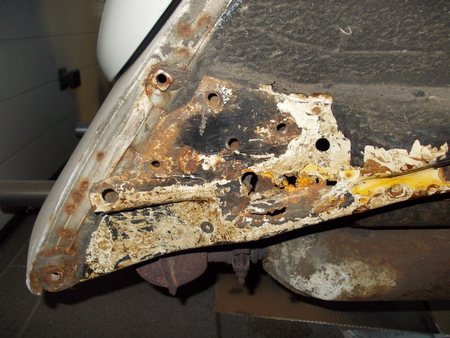
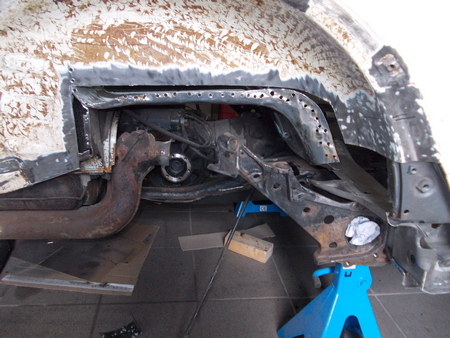
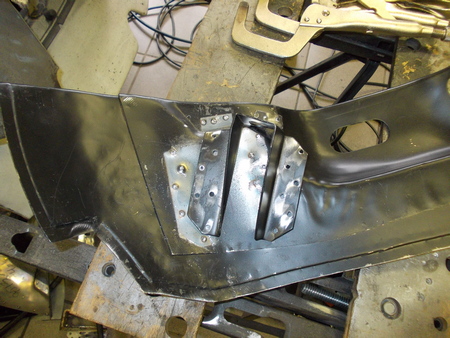
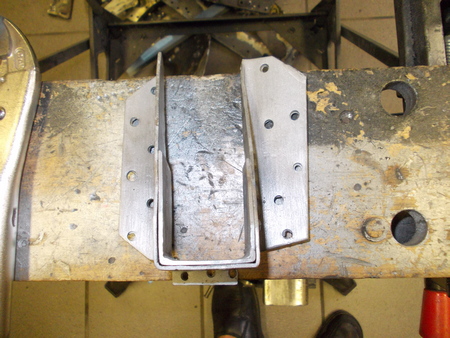
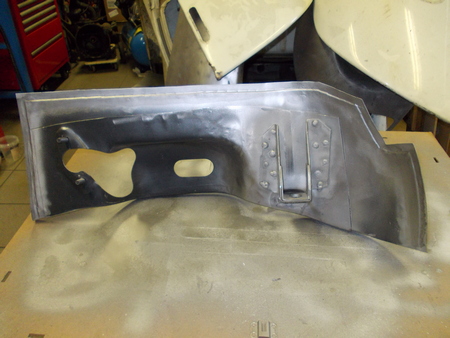
2.4 Front Wheel Arches and Bumper Support Panels
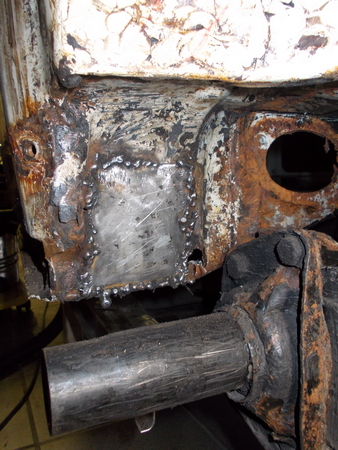
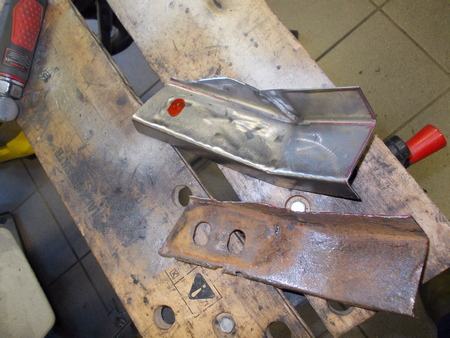
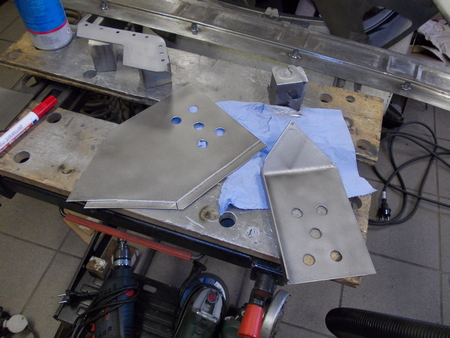
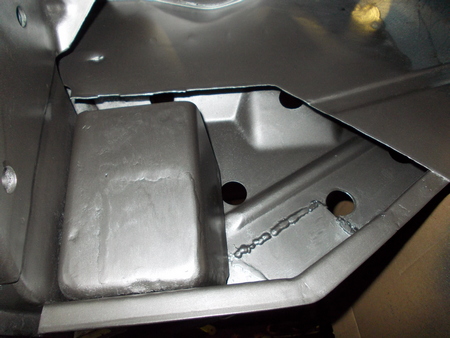
One of the to-do items was already clear from the moment I bought the car – there was a badly repaired rust hole right above the front right bumper support bracket. This could be seen from the front luggage compartment. Strategy here – cut away as little as needed to remove the rot, re-use original bumper support brackets.
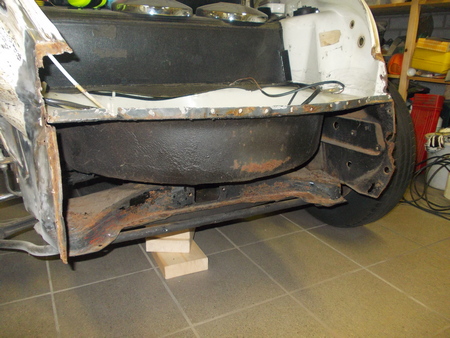

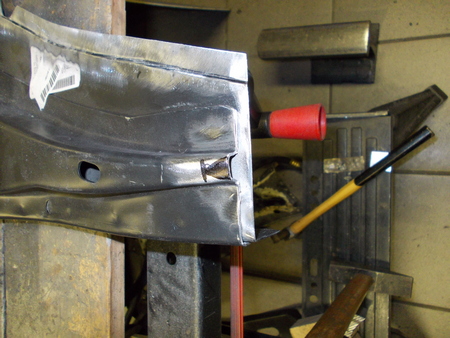
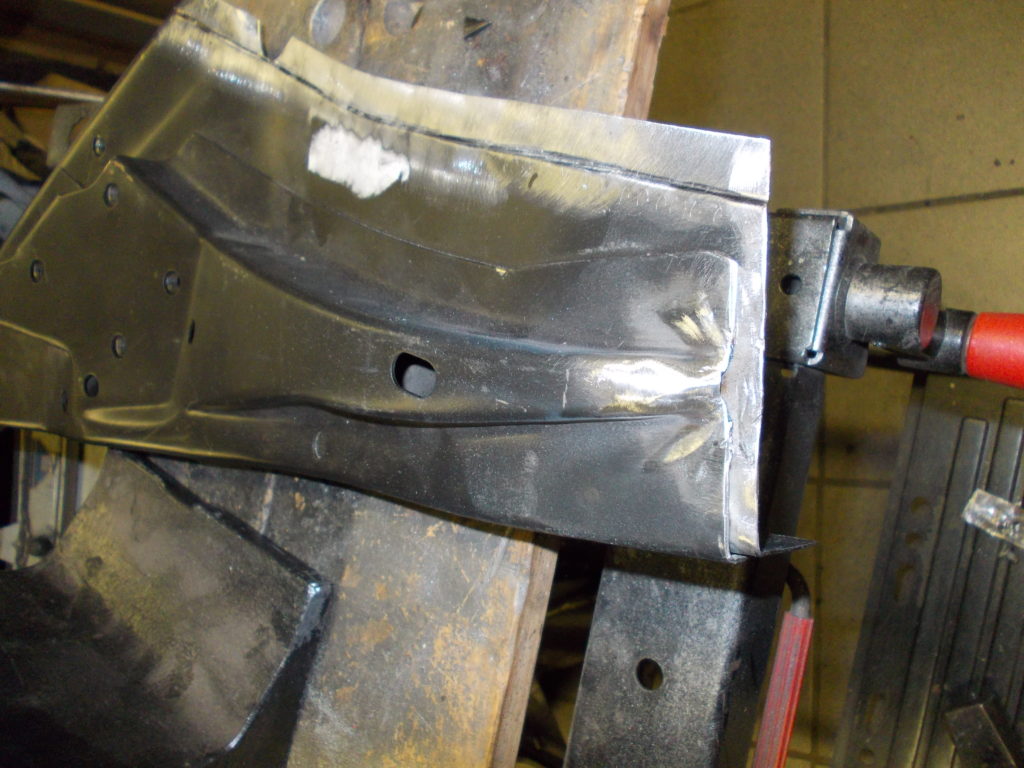
2.5 Front Apron
The front apron was beyond repair, I had to use an imitation panel. Luckily the fitting was not too bad after some modifications (remove the metal strips for holding the closing rubber, these were lined up and welded poorly), so this was a rather straightforward exercise, work down to bare metal, protect the inaccessible areas with weld primer (to prevent in between metal sheets rust), position the panel properly making sure the hood closes nicely and then but weld the whole lot.
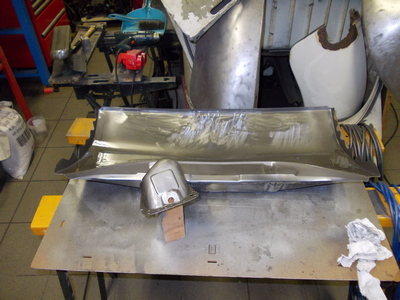
And the final result, as said the metal strips holding the rubbers will be done at a later stage. All will be grid blasted once more before applying 2K epoxy primer.
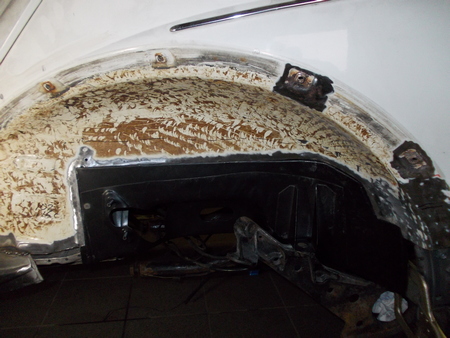
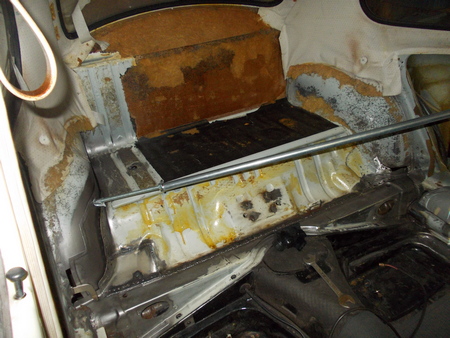
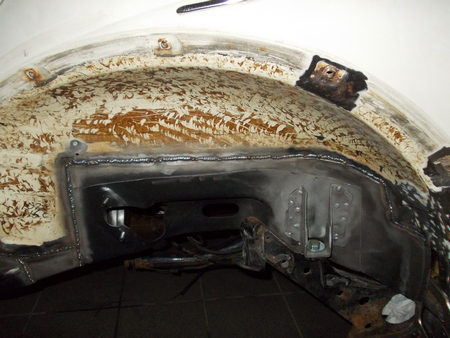
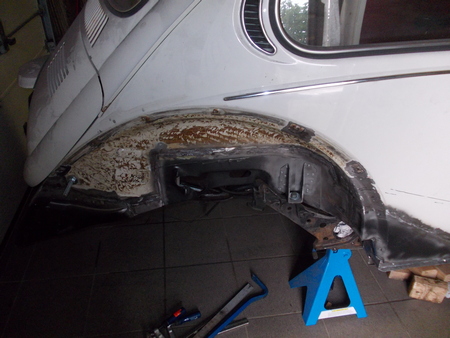
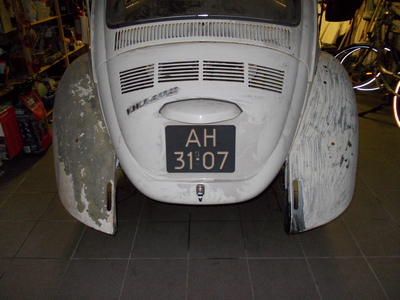
2.6 Rear Wheel Arches
Starting at the right side (as this side is normally the worse compared to left)
- cut away all metal rot
- clean (a combination of grid basting and Scotchbrite wiel)
- make the new panels fit, in particular the bracket which mounts the body on the chassis (the imitation one doesn’t even look close to the original one)
- protect the overlapping metal by applying weld primer
- pre fit all panels
- weld the whole lot
Add pictures of left backside
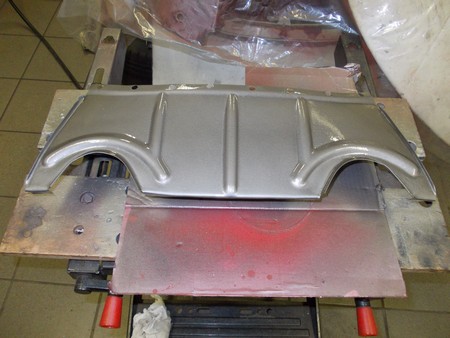
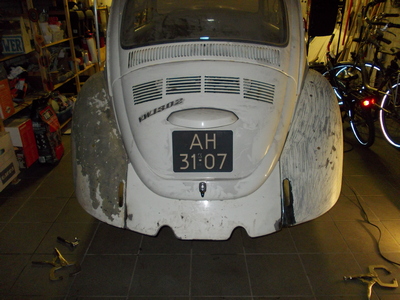
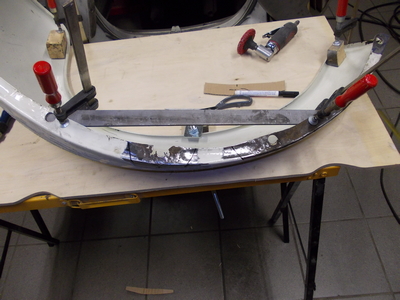
2.7 Rear Apron
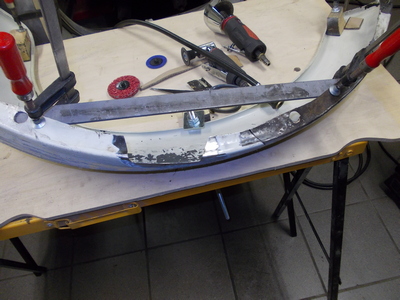
Initially I had bought an imitation panel, though the quality was poor, fitting was bad compared to the original, even at the state the original was in – refurbishment of the original! Removed all the protective coatings the hard way – scraping and applying thinner. Grid blasted the lower corners and separated both plates in order to remove all rust. Small parts of the corners needed a bit of welding. The areas that could not be access any longer after reassembly were grid blasted and protected with welding primer to prevent future rust between overlapping plates. After that the whole lot could be reassembled again. The accessible areas will be grid blasted again along with the remainder of the body before I apply the epoxy primer.
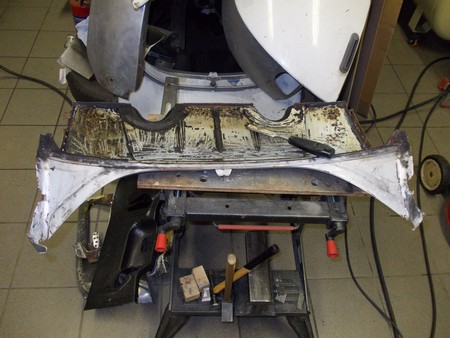
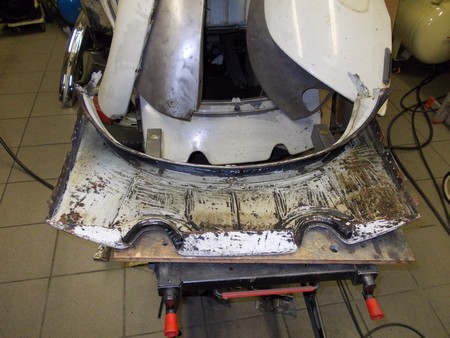

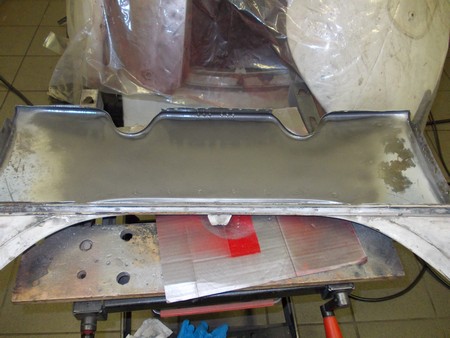
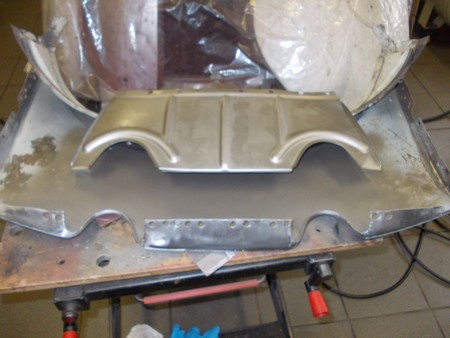
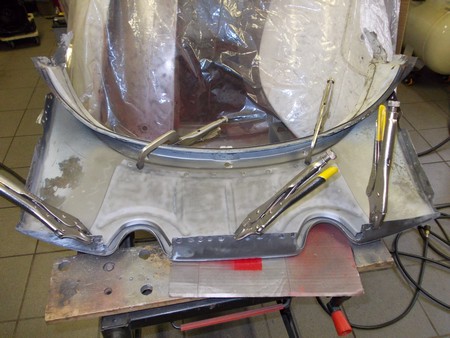
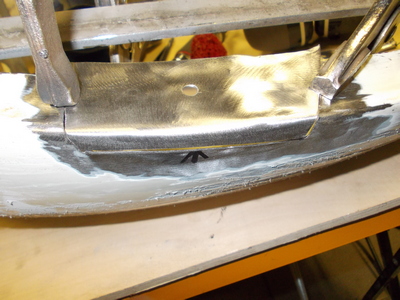
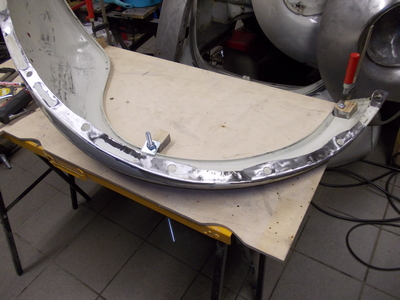
Before the final reassembly first so trial fits with the rear fenders on to see if the “lines” are all correct and if the bonnet closes properly – all fits as a glove. Of course it helps to re-use the original apron – the wholes of the original spot welds are the best reference point.
When all was in the right position the panel was plug welded. Later in time I will remove all remains of the original paint, for now a good rust protective.
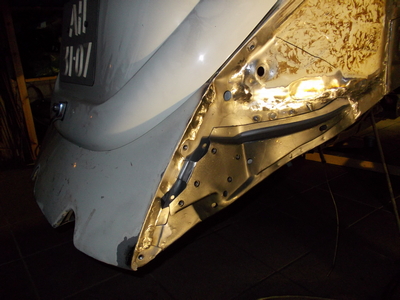
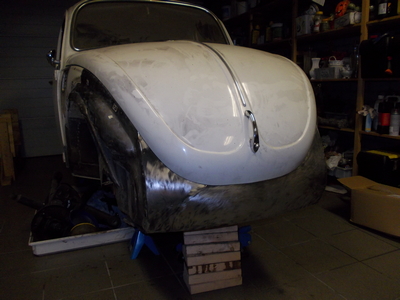
2.8 Fenders
The fenders in the front are probably still original – these will be refurbished despite the large repair patch needed on the front right fender – I probably have to cut away 25cm or so, but I have some donor fenders to cut out the needed metal patches.
The rear fenders are in reasonably good shape. Despite the front fenders being original I think the left-right fender is not. Nonetheless both will be refurbished. First all the tectyl layers have been removed with great help of my son, then the fenders are “locked” to prevent the arc to change (while cutting away metal and from the welding heat) and then metal patches were shaped and welded in.
Add front fenders section
2.9 Engine Lid and front Hood
2.10 Bodywork – Others
There is always repairs that do not fit under any header – others!
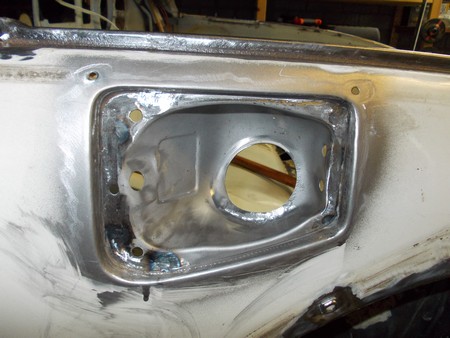
The first item was the petrol refill opening, the lower part of the opening was showing rot. After buying an imitation replacement I have decided to look for a donor part – the imitation one doesn’t fit at all as it is not prepared for the lid opening mechanism.
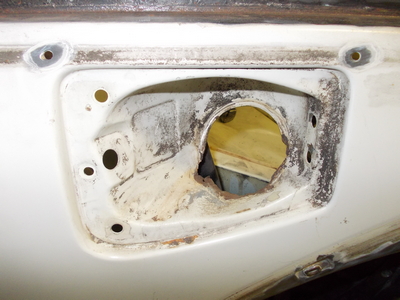
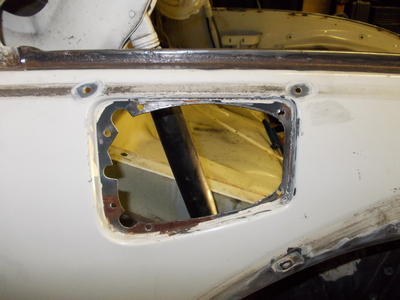
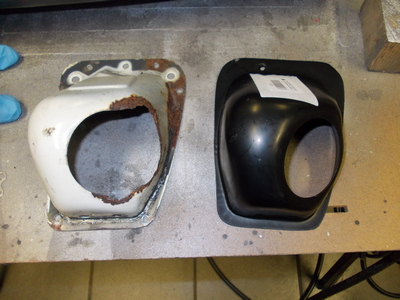
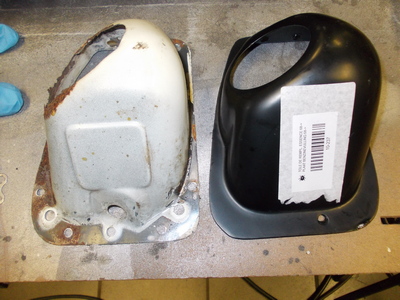
The donor part was straightened out again after removal, grid blasted and weld primer was applied as a first rust protection. Below the final result.